Nest使用Swagger文档
Swagger 是一个用于设计、构建和文档化 RESTful API 的开源框架和工具集。它提供了一套规范和工具,使得开发人员可以轻松地定义、测试和文档化 API。使用swagger可以很方便的测试接口、对接口进行管理,最重要的还是接口可视化方便任何人的操作,对于后端来说swagger是最熟悉不过的。在这里nest也可以使用swagger进行接口文档的生成,本篇文档就来看看如何使用swagger
对于前端来说用node生成api docs的场景可能很少见,这里只是扩展下nest的使用,方便自己对node框架方面的延伸扩展,总之多了解一些还是有好处的
起步
使用swagger首先需要安装相关的工具包,nest中内置了@nestjs/swagger工具包可以安装,此依赖内部有过多次的升级,本篇以最新版>7作为演示版本。可能看到本篇文档安装时的版本已经不是7了,那么本篇文章的相关使用方法可能不适用了,还请查看官方文档
安装
➜ yarn add @nestjs/swagger配置
安装好以后在程序入口进行简单的配置就可以使用了,以下在main文件中配置:
import { NestFactory } from '@nestjs/core';
import { SwaggerModule, DocumentBuilder } from '@nestjs/swagger';
import { AppModule } from './app.module';

async function bootstrap() {
  const app = await NestFactory.create(AppModule);

  const config = new DocumentBuilder().build();
  const document = SwaggerModule.createDocument(app, config);
  // 设置swagger的地址url: /api
  SwaggerModule.setup('api', app, document);

  await app.listen(3000);
}
bootstrap();2
3
4
5
6
7
8
9
10
11
12
13
14
15
启动
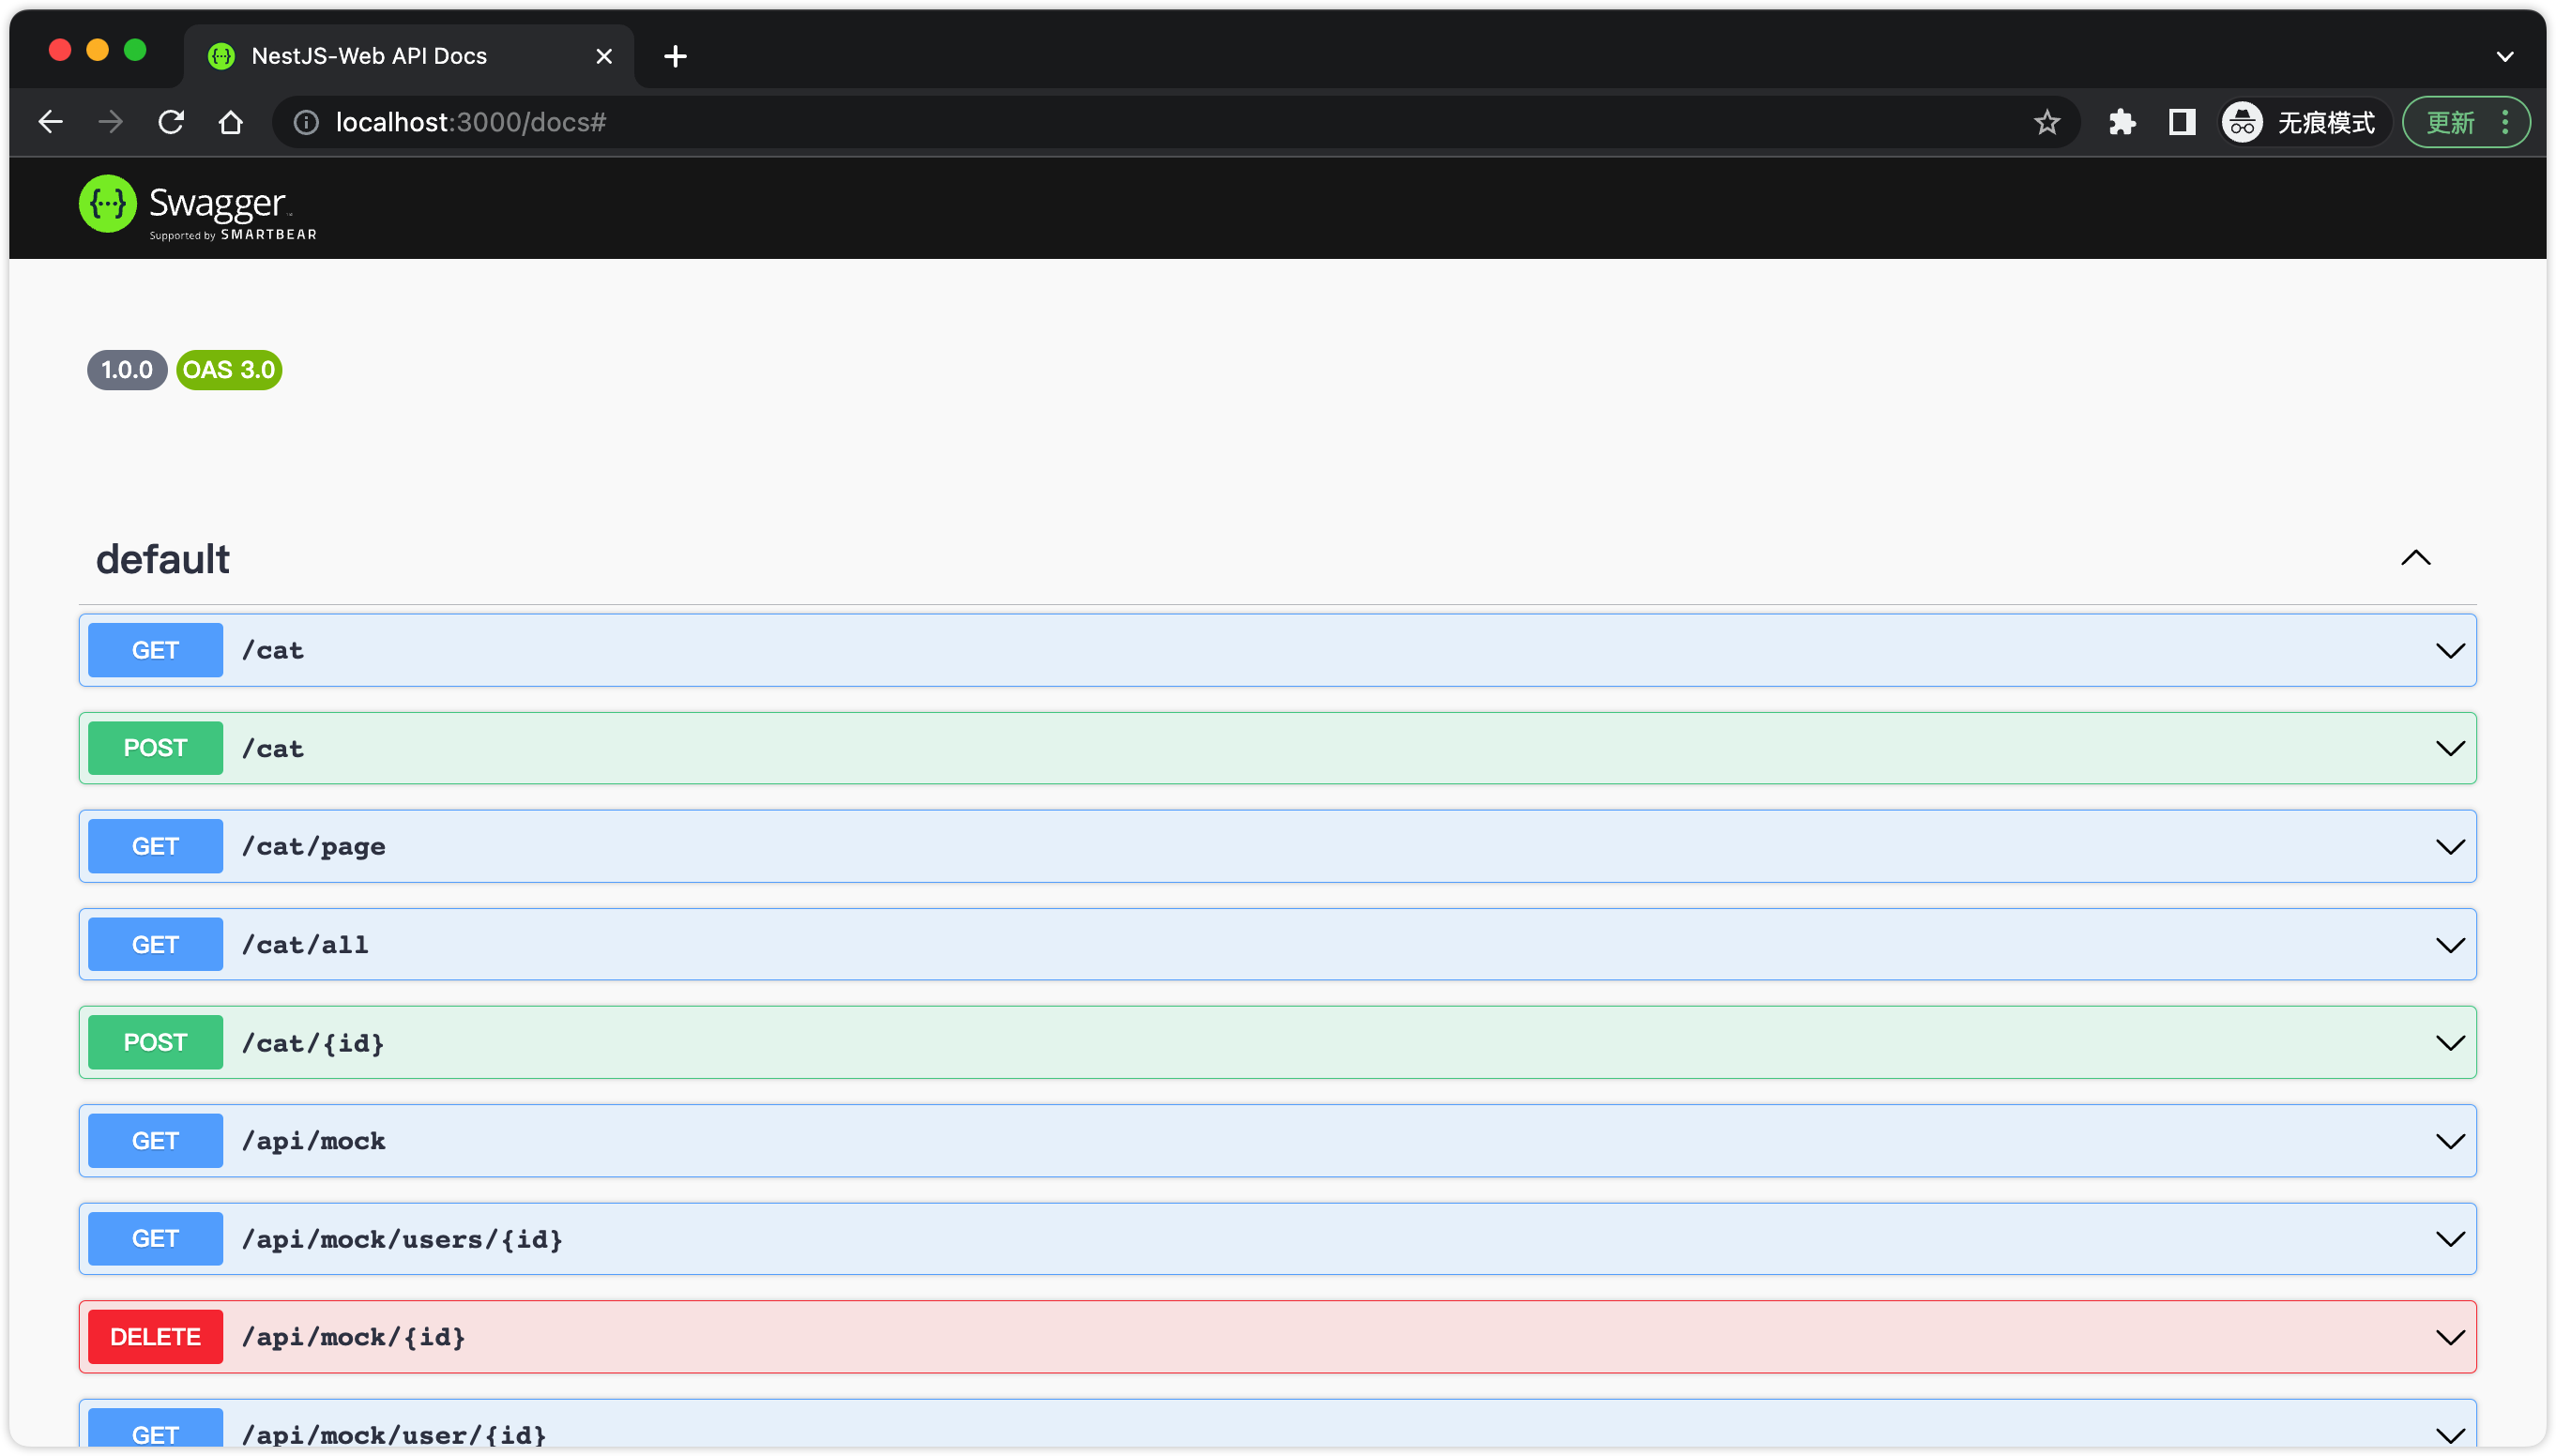
上面配置好了后就可以启动nest服务了,打开浏览器输入nest的服务地址加上swagger的urlhttp://localhost:3000/api就看到默认的接口列表了(🔈:程序中要有相关的Controller)

接口参数
到这里基本上都可以看到我们定义的接口了,而当我们展开相关的接口时会发现没有任何参数类型,也就是没将代码中定义的相关参数表现出来,如果运行接口也没法输入对应的参数导致接口报错。如定义以下接口:
// GET: /api/mock
// 这里希望接口的query参数类型为 PaginationQueryDto
@Get()
async getList(@Query() query: PaginationQueryDto) {
  return query;
}

// PaginationQueryDto类型
export class PaginationQueryDto {
  @IsNumber()
  readonly limit: number = 10;

  @IsNumber()
  readonly offset: number = 1;
}2
3
4
5
6
7
8
9
10
11
12
13
14
15
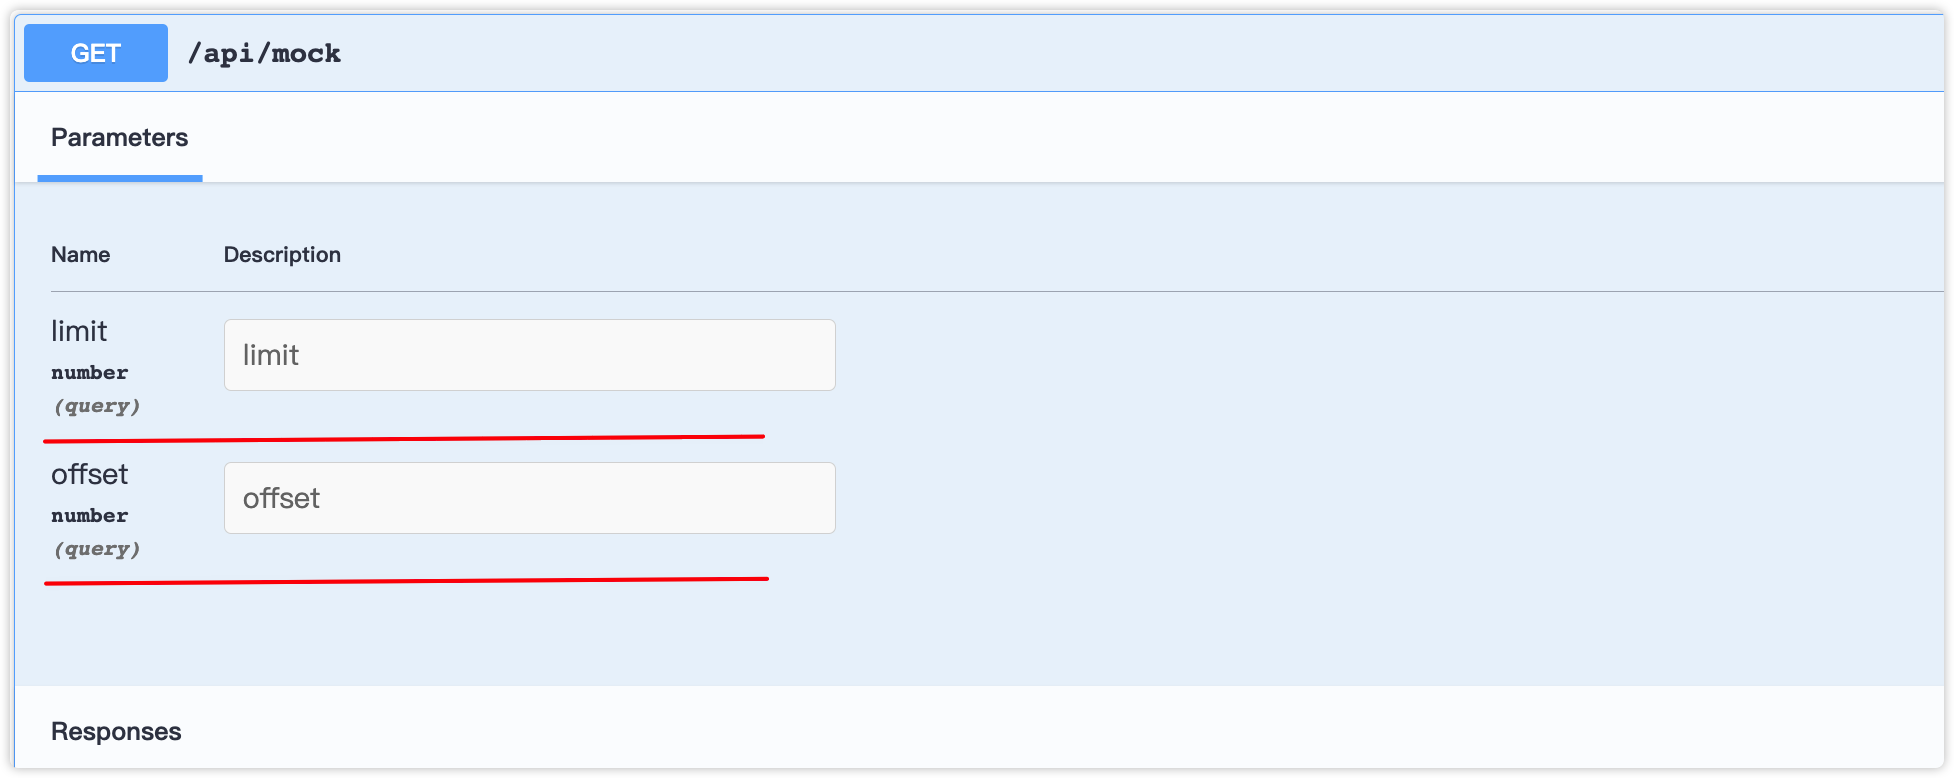
而在swagger中是看不到任何参数信息的:

默认注入
那么针对没有任何参数问题就要进一步解决了,其实swagger内部会对所有的Controller的每个方法中的@Query、@Param、@Body相关装饰器进行收集作为参数类型model,不过对于以上的代码我们也用到了@Query,还是没有相关的参数显示。这里就需要说明一个装饰器了@ApiProperty
ApiProperty
@ApiProperty装饰器用来装饰类的属性,主要来告诉swagger这个属性当前接口会用到,而接口的什么参数会用到,就看当前类类型被什么参数装饰器用到了,如:@Query等等。swagger内部会分析当前的属性属于当前接口的什么参数,所以这里不需要有额外的担心
让我们做简单的修改:
// PaginationQueryDto类型为
export class PaginationQueryDto {
  @ApiProperty()
  @IsNumber()
  readonly limit: number = 10;

  @ApiProperty()
  @IsNumber()
  readonly offset: number = 1;
}2
3
4
5
6
7
8
9
10
就这样其他啥也不需要修改(请确保相关的参数装饰器用到了此类型),再看看接口文档的显示:  至此已经成功的展示出query参数
ApiProperty还有一些其他的属性可以配置,如:枚举、字段名、是否必填等等
隐式自动注入只会对参数做处理,如果要对响应数据类型字段展示,就必须要显示定义了
显式定义
接口的相关参数除了可以使用隐式定义外,也可以使用相关的装饰器进行显示定义
- 使用ApiQuery定义查询参数:
@Get()
@ApiQuery({ name: 'age', type: 'number', description: '年龄', required: false })
@ApiQuery({ name: 'name', type: 'string', description: '姓名', required: true })
async getList(@Query() query: PaginationQueryDto) {}2
3
4

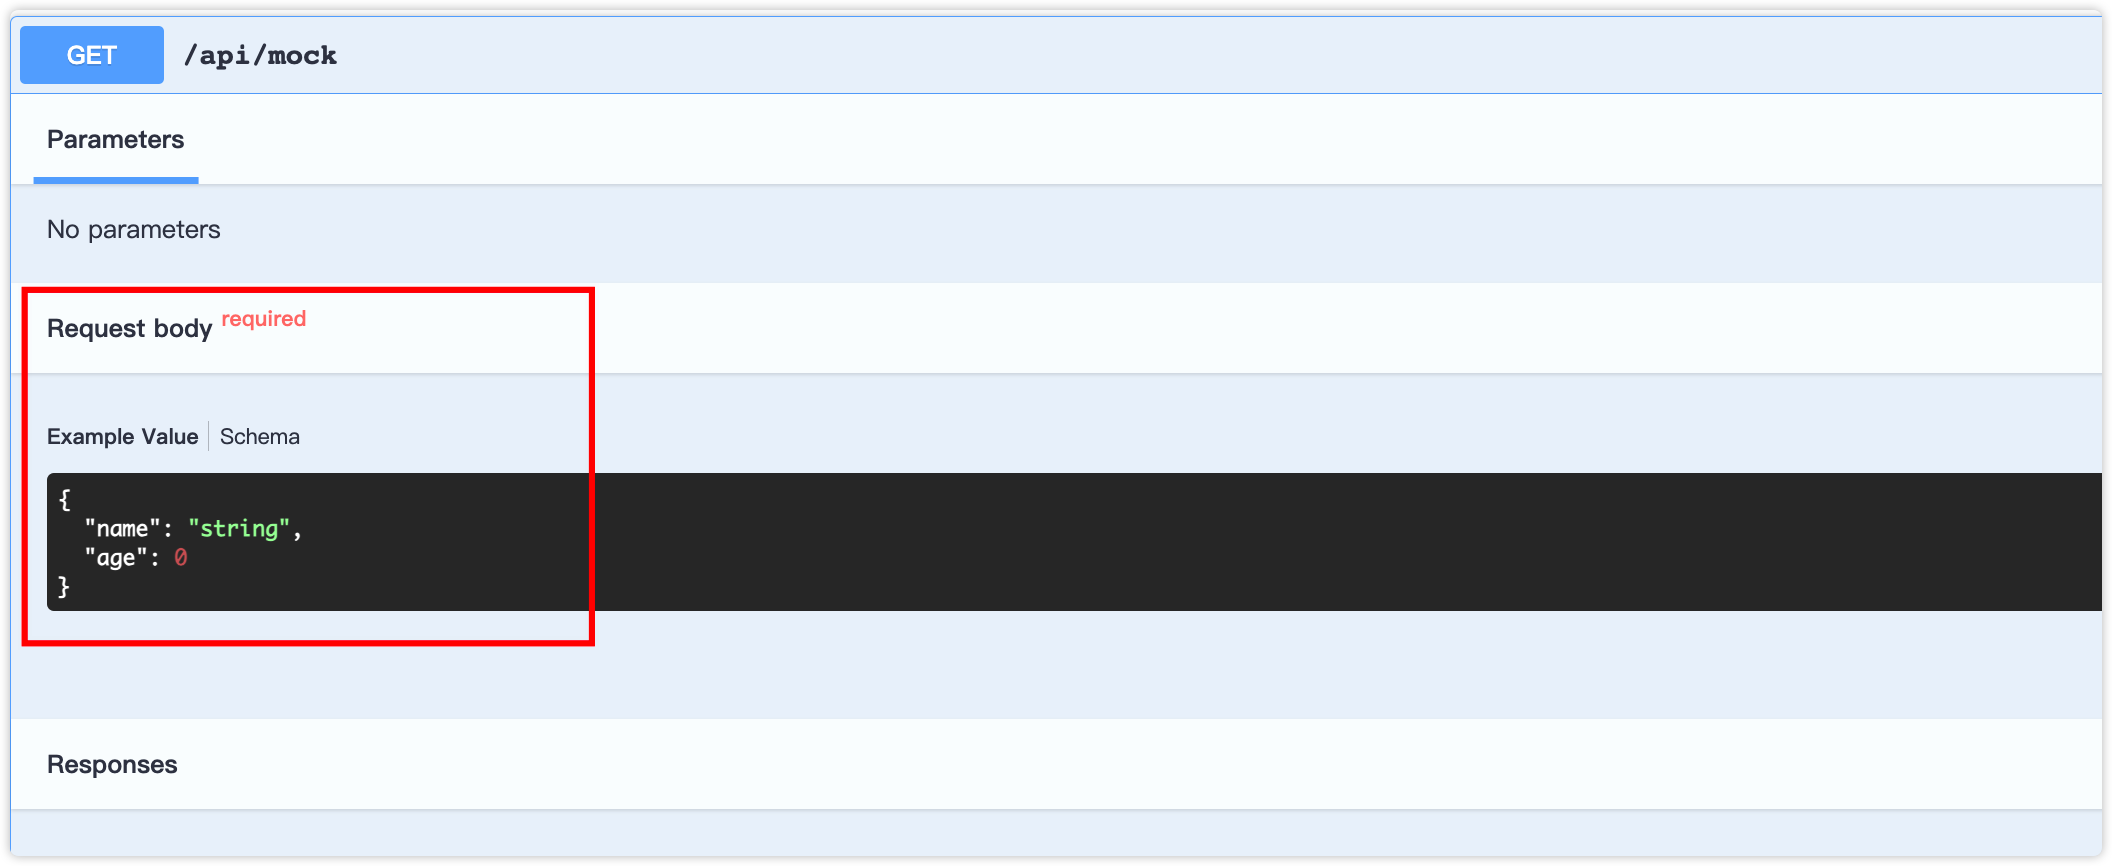
- 使用ApiBody定义请求体的body数据:
export class CreateUserDto {
  @ApiProperty()
  @IsString()
  readonly name: string;

  @ApiProperty()
  @IsOptional()
  @Type(() => Number) // 明确转换为number
  @IsNumber()
  readonly age: number;
}

@Get()
@ApiBody({ type: CreateUserDto })
async getList(@Query() query: PaginationQueryDto) {}2
3
4
5
6
7
8
9
10
11
12
13
14
15

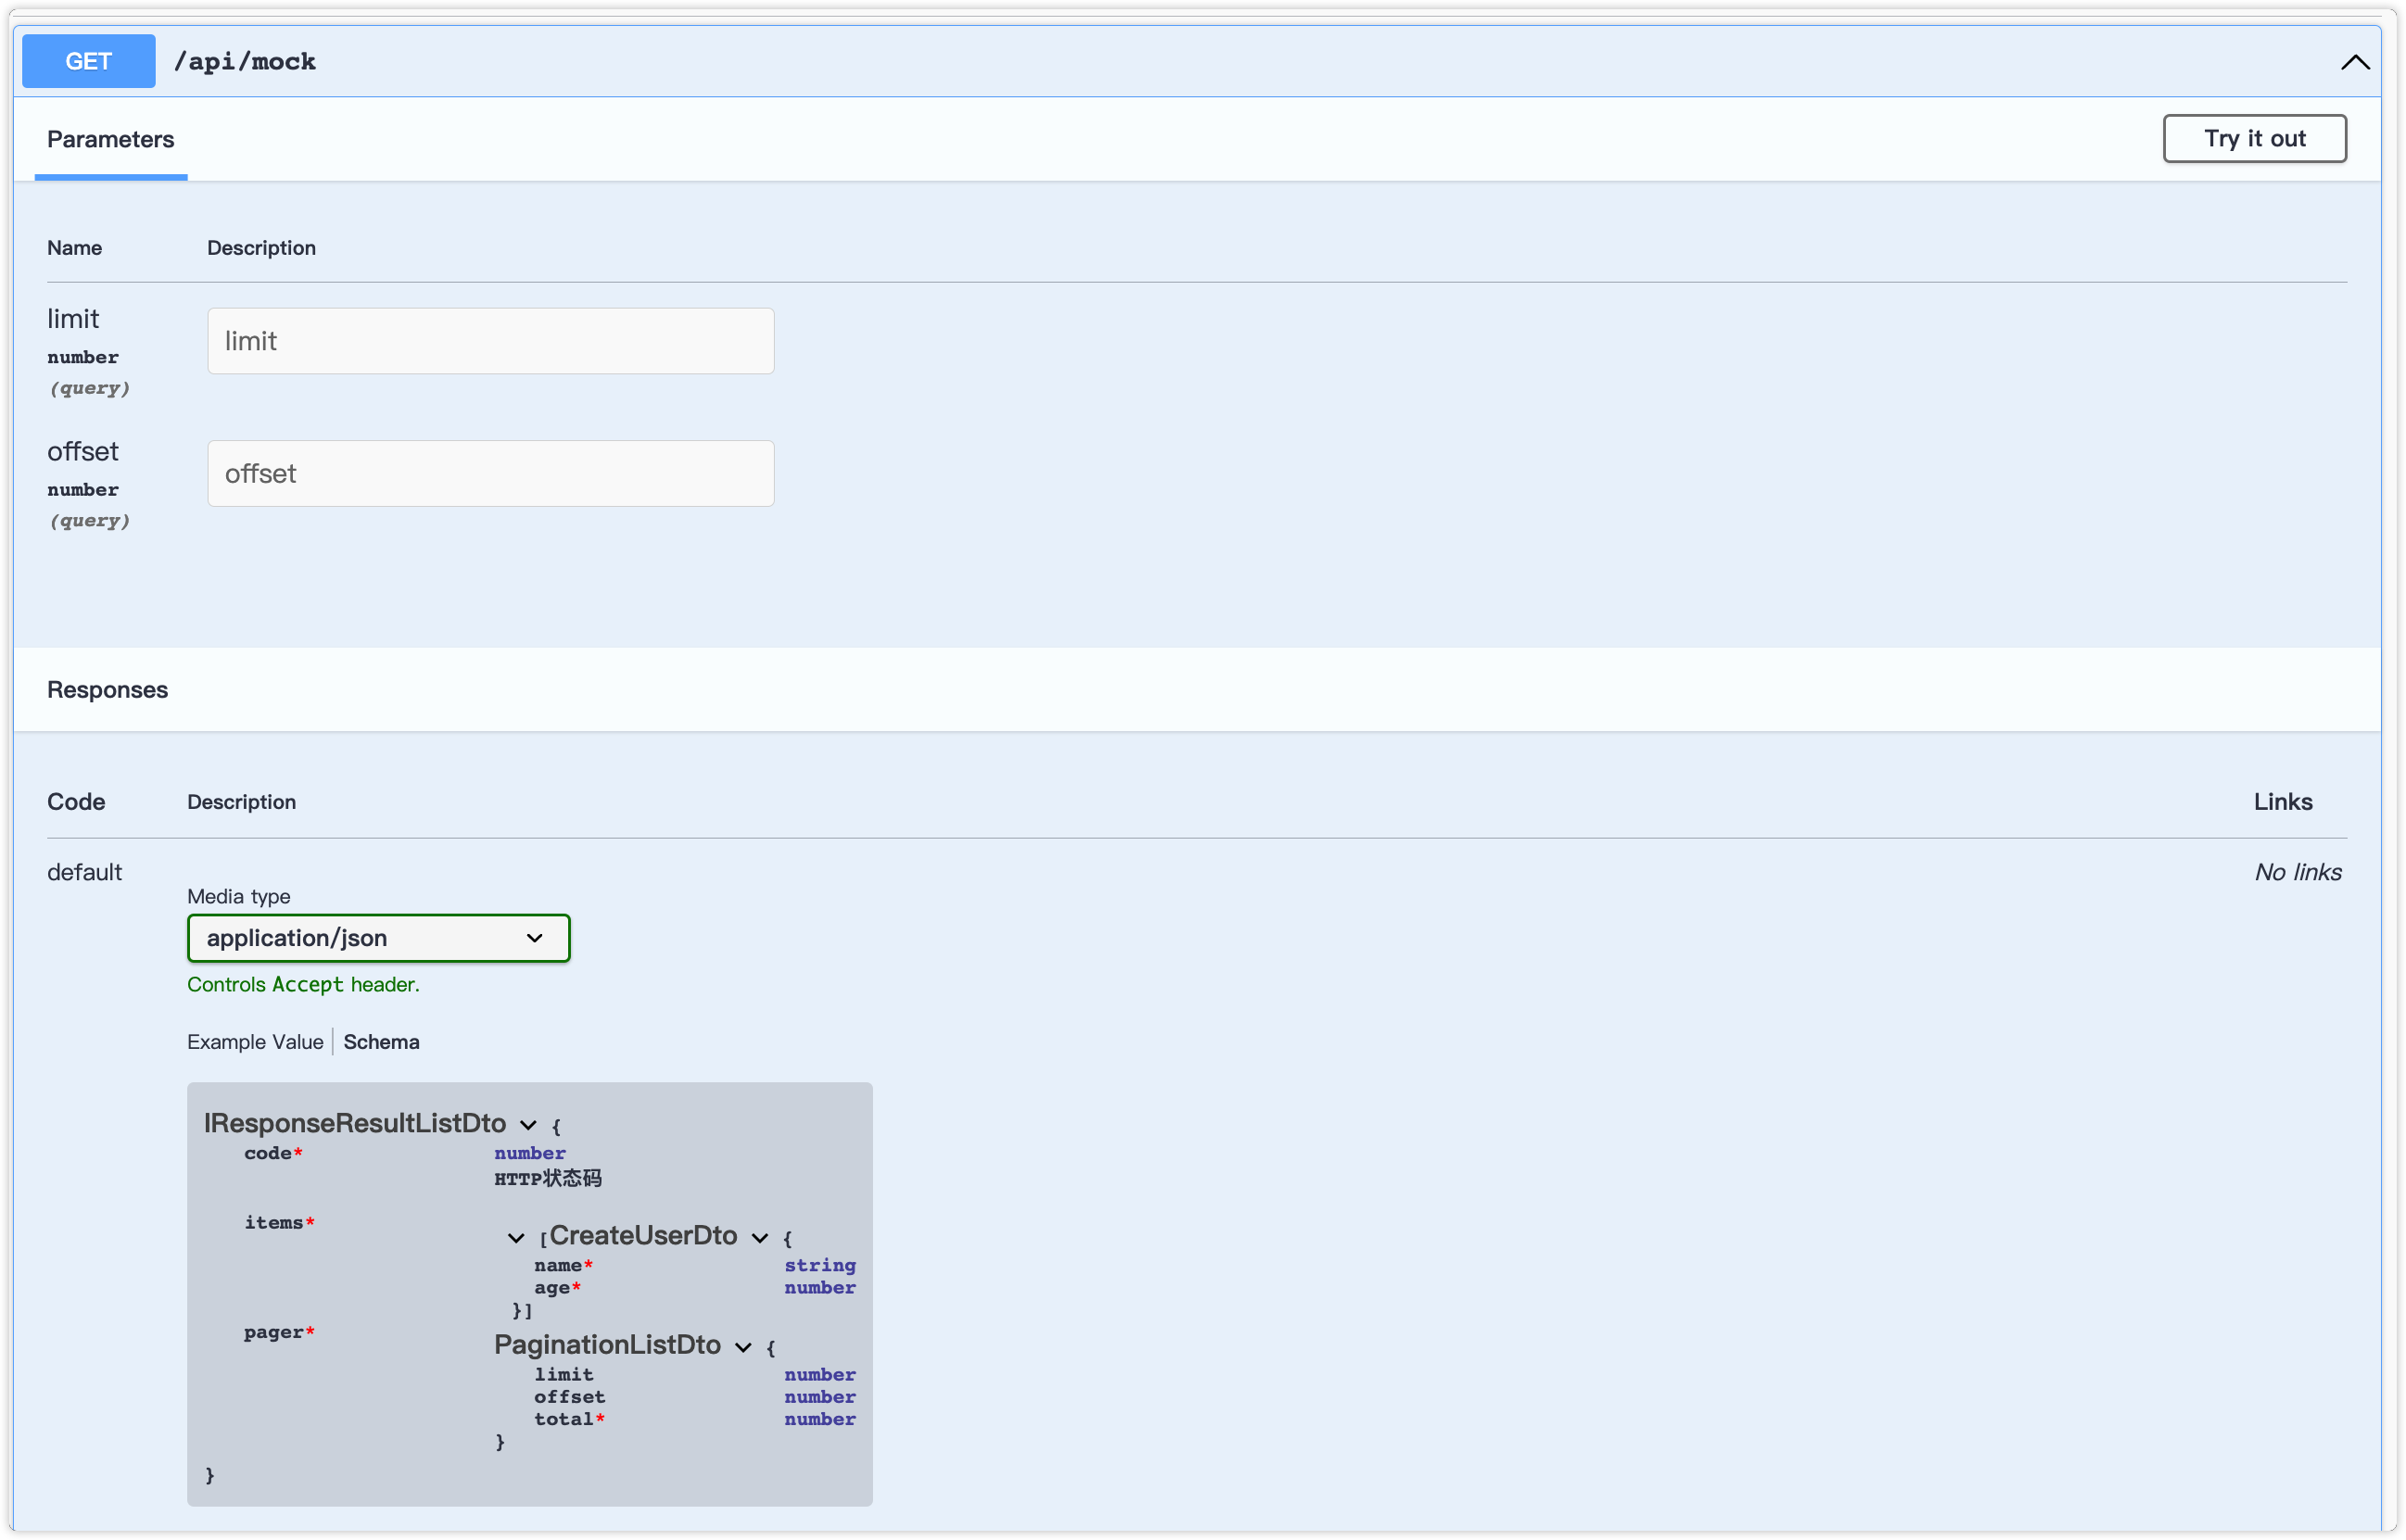
- 使用ApiResponse定义响应体类型:
export class IResponseCodeDto {
  @ApiProperty({ description: 'HTTP状态码' })
  code: HttpStatus;
}
export class IResponseResultListDto extends IResponseCodeDto {
  @ApiProperty({ isArray: true, type: CreateUserDto })
  items: any;
  @ApiProperty()
  pager: PaginationListDto;
}

@Get()
@ApiResponse({ type: IResponseResultListDto })
async getList(@Query() query: PaginationQueryDto) {}2
3
4
5
6
7
8
9
10
11
12
13
14

模块划分
swagger默认会对所有的Controller划分到default模块中,通常我们会将不同的功能划分到不同的模块,而swagger提供ApiTags来给对应的Controller打上标签,这样就会将当前Controller接口划分到对应的名字
@ApiTags('Mock')
@Controller('/api/mock')
export class MockController {}2
3

看上去模块划分已经生效了,但是还会生成default模块,是因为有些Controller没有添加标签就会全部放到default中,可以写一个规则将没有标签的过滤掉
const swaggerConfig = new DocumentBuilder();
const document = SwaggerModule.createDocument(app, swaggerConfig);
// 过滤掉不是以 `/api` 和 没有 `@ApiTags` 装饰的接口
document.paths = Object.keys(document.paths).reduce((paths, path) => {
  if (!/^\/api/i.test(path)) return paths; // 只生成api开头的接口
  const pathItem = document.paths[path];
  const filteredOperations = Object.keys(pathItem).reduce((ops, method) => {
    const operation = pathItem[method];
    if (operation.tags && operation.tags.length > 0) {
      return { ...ops, [method]: operation };
    }
    return ops;
  }, {});
  if (Object.keys(filteredOperations).length > 0) {
    return { ...paths, [path]: filteredOperations };
  }
  return paths;
}, {});2
3
4
5
6
7
8
9
10
11
12
13
14
15
16
17
18

其他
swagger还有一些其他的修饰配置,如:页面标题、描述信息等,简单看看使用
设置页面信息:
const swaggerConfig = new DocumentBuilder()
    .setTitle('Nest-swagger-api-docs')
    .setDescription('在nest中使用swagger搭建接口文档')
    .setLicense('一段文本', 'https://www.baidu.com')
.build();2
3
4
5

设置路径标识、显式模块:
const document = SwaggerModule.createDocument(app, swaggerConfig, {
  include: [MockController], // 引入指定模块
  operationIdFactory: (controllerKey, methodKey) => `${controllerKey}___${methodKey}`, // 路径标识
});2
3
4
除了以上的相关配置,你可以在官方文档中查看更多的配置信息,这里就不再讲了


