谈谈Vue内部的运行机制
前言
在使用vue开发时,都是从new Vue() 开始构建的,将state(data、props、methods...)、template、render等做为参数选项传入,vue内部就自动处理最后生成HTML呈现在页面上,那内部到底是怎么个流程呢?
在网上看到的文章大多都是直接讲双向绑定原理等一些内部实现机制,很少从构建开始讲起,这会对Vue的构建有一些疑惑,带着这份疑惑,接下来就开始进行分析吧
从构建开始
首先我们得找到Vue的入口,new VueVue是在哪里定义的,因为Vue是基于Rollup(一个 JavaScript 模块打包器常用于构建库)进行构建的,可以在源码项目中build.js中看到rollup的相关配置,我们在package.json中看到有很多脚本用于vue的构建,
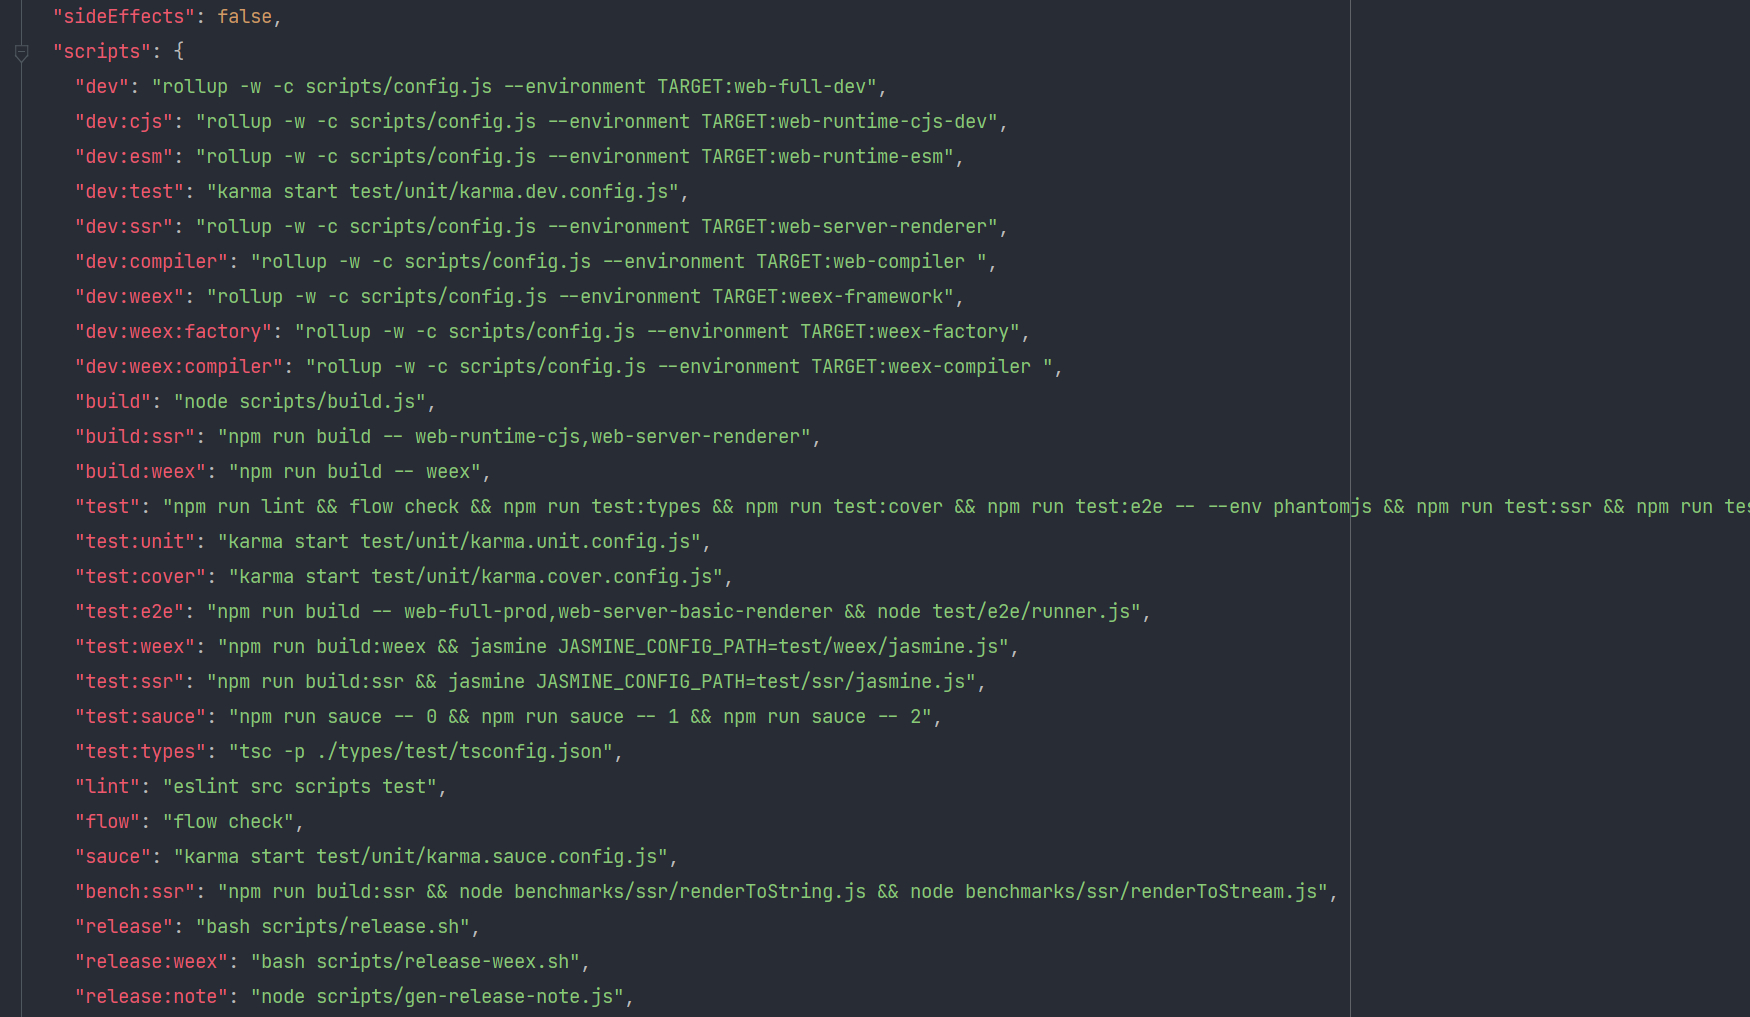
从脚本中可以看出,运行不同脚本用来构建不同版本的文件,我们直接看build,实际运行node scripts/build.js,也就是说打包运行的就是这个文件,接下来看看build.js里面都是些什么内容。
// scripts/build.js
let builds = require('./config').getAllBuilds()

// ...

build(builds)

function build (builds) {
  let built = 0
  const total = builds.length
  const next = () => {
    buildEntry(builds[built]).then(() => {
      built++
      if (built < total) {
        next()
      }
    }).catch(logError)
  }

  next()
}

function buildEntry (config) {
  const output = config.output
  const { file, banner } = output
  const isProd = /(min|prod)\.js$/.test(file)
  return rollup.rollup(config)
    .then(bundle => bundle.generate(output))
    // ...
}在build.js中,其实就是执行了build方法,遍历builds将其作为buildEntry方法参数执行,在buildEntry函数中可以看到rollup字眼了,config作为了rollup的参数,进行配置构建 build方法的参数builds,可以猜出就是rollup相关的配置,他是从config.js中的getAllBuilds方法获取的,接下来看看config.js
const builds = {
  // Runtime only (CommonJS). Used by bundlers e.g. Webpack & Browserify
  'web-runtime-cjs-dev': {
    entry: resolve('web/entry-runtime.js'),
    dest: resolve('dist/vue.runtime.common.dev.js'),
    format: 'cjs',
    env: 'development',
    banner
  },
  'web-runtime-cjs-prod': {
    entry: resolve('web/entry-runtime.js'),
    dest: resolve('dist/vue.runtime.common.prod.js'),
    format: 'cjs',
    env: 'production',
    banner
  },
  // Runtime+compiler CommonJS build (CommonJS)
  'web-full-cjs-dev': {
    entry: resolve('web/entry-runtime-with-compiler.js'),
    dest: resolve('dist/vue.common.dev.js'),
    format: 'cjs',
    env: 'development',
    alias: { he: './entity-decoder' },
    banner
  },
  'web-full-cjs-prod': {
    entry: resolve('web/entry-runtime-with-compiler.js'),
    dest: resolve('dist/vue.common.prod.js'),
    format: 'cjs',
    env: 'production',
    alias: { he: './entity-decoder' },
    banner
  },
  // Runtime only ES modules build (for bundlers)
  'web-runtime-esm': {
    entry: resolve('web/entry-runtime.js'),
    dest: resolve('dist/vue.runtime.esm.js'),
    format: 'es',
    banner
  },
  //... 省略部分代码
}

function genConfig (name) {
  const opts = builds[name]
  const config = {
    input: opts.entry,
    external: opts.external,
    plugins: [
      flow(),
      alias(Object.assign({}, aliases, opts.alias))
    ].concat(opts.plugins || []),
    output: {
      file: opts.dest,
      format: opts.format,
      banner: opts.banner,
      name: opts.moduleName || 'Vue'
    },
    onwarn: (msg, warn) => {
      if (!/Circular/.test(msg)) {
        warn(msg)
      }
    }
  }

  //... 省略部分代码

  return config
}

//... 省略部分代码
exports.getAllBuilds = () => Object.keys(builds).map(genConfig)在config文件中,通过getAllBuilds遍历builds,进行getConfig加工,getConfig方法内部,其实就是对builds中的每个属性,进行config改造,可以看出内部的config其实就是rollup的配置,最终返回改造好的config 再看builds其实就是针对构建不同规范、不同平台、不同环境进行的配置,如:web平台、commonJS规范、dev及prod环境、Runtime版本、Runtime+Comiler版、ES Module版等等,这样可以集中处理需要构建的目标版本等等,这里做了很好的区分,也容易管理
知道了打包的入口文件,就可以找到Vue开始的位置了,本篇分析
Runtime+Compiler的commonjs版本,关于Runtime和Compiler版本后面再做介绍
入口分析
上部分我们终于找到了Vue打包的入口,可以看到有很多,我们只讲Runtime+Compiler的commonjs版本,可以在源码中找到entry-runtime-with-compiler.js,这就是打包入口。
首先我们要先找到Vue的定义所在
// src/platforms/web/entry-runtime-with-compiler.js

//... 省略部分代码
import Vue from './runtime/index'

const mount = Vue.prototype.$mount
Vue.prototype.$mount = function (
  el?: string | Element,
  hydrating?: boolean
): Component {
  //... 省略部分代码
  return mount.call(this, el, hydrating)
}

export default Vue在上述入口文件中,并没有看到Vue的定义,只是从runtime/index文件中引入了Vue,然后先对Vue的原型方法$mount进行缓存,再重写$mount,最后导出了Vue
接着我们来到src/platforms/web/runtime/index.js
//src/platforms/web/runtime/index.js`

import Vue from 'core/index'
import { patch } from './patch'
import platformDirectives from './directives/index'
import platformComponents from './components/index'

// install platform specific utils
Vue.config.mustUseProp = mustUseProp
Vue.config.isReservedTag = isReservedTag

//... 省略部分代码

// install platform runtime directives & components
extend(Vue.options.directives, platformDirectives)
extend(Vue.options.components, platformComponents)

// install platform patch function
Vue.prototype.__patch__ = inBrowser ? patch : noop

// public mount method
Vue.prototype.$mount = function (
  el?: string | Element,
  hydrating?: boolean
): Component {
  el = el && inBrowser ? query(el) : undefined
  return mountComponent(this, el, hydrating)
}

//... 省略部分代码

export default Vue在上述文件中,也没有找到Vue的定义,只是简单的从core/index文件中导出了Vue。这里为Vue扩展了静态属性config并设置了一些配置属性,然后在其静态属性options上扩展了和平台相关的指令、组件等等;并给Vue原型定义了_patch__方法,然后发现这里找到了$mount方法的位置,内部执行的是mountComponent函数(后面再讲),最后导出Vue
其实这里就是为Vue做不同平台的构建做了一些扩展和准备,如__patch__方法在非浏览器环境下(ssr)就不需要patch,所以是个空函数
接着我们来到了core/index
// src/core/index.js

import Vue from './instance/index'
import { initGlobalAPI } from './global-api/index'
import { isServerRendering } from 'core/util/env'
import { FunctionalRenderContext } from 'core/vdom/create-functional-component'

// 初始化全局API
initGlobalAPI(Vue)

Object.defineProperty(Vue.prototype, '$isServer', {
  get: isServerRendering
})

Object.defineProperty(Vue.prototype, '$ssrContext', {
  get () {
    /* istanbul ignore next */
    return this.$vnode && this.$vnode.ssrContext
  }
})

// expose FunctionalRenderContext for ssr runtime helper installation
Object.defineProperty(Vue, 'FunctionalRenderContext', {
  value: FunctionalRenderContext
})

Vue.version = '__VERSION__'

export default Vue这里也没有找到Vue定义,而是从core/instance/index中引入了Vue,initGlobalAPI是对Vue挂载了全局静态属性及方法,如:nextTick、set...等等,直接看instance/index文件
// src/core/instance/index
import { initMixin } from './init'
import { stateMixin } from './state'
import { renderMixin } from './render'
import { eventsMixin } from './events'
import { lifecycleMixin } from './lifecycle'
import { warn } from '../util/index'

function Vue (options) {
  if (process.env.NODE_ENV !== 'production' &&
    !(this instanceof Vue)
  ) {
    warn('Vue is a constructor and should be called with the `new` keyword')
  }
  this._init(options)
}

initMixin(Vue)
stateMixin(Vue)
eventsMixin(Vue)
lifecycleMixin(Vue)
renderMixin(Vue)

export default Vue终于找到了Vue定义,原来就是一个函数
new Vue发生了什么
上个章节终于找到了vue的定义所在,就是一个普通函数,找到Vue接下来就可以对其进行下一步的分析了
通常我们都要new一个Vue,如下:
new Vue({
  template: `<div>{{title}}</div>`
  data: { title: 'emmm...' },
  methods: {}
})在执行new操作后,就会执行内部方法_init,在源码中
function Vue (options) {
  this._init(options)
}
initMixin(Vue)
stateMixin(Vue)
eventsMixin(Vue)
lifecycleMixin(Vue)
renderMixin(Vue)那么_init方法又是从哪来的,首先肯定会想到是在Vue原型上定义的方法,接着再看下面给Vue进行了多个mixin,我们先看initMixin,initMixin在init.js中:
// src/core/instance/init.js

let uid = 0

export function initMixin (Vue: Class<Component>) {
  Vue.prototype._init = function (options?: Object) {
    const vm: Component = this
    // a uid
    vm._uid = uid++

    // a flag to avoid this being observed
    vm._isVue = true
    if (options && options._isComponent) {
      initInternalComponent(vm, options)
    }
    else {
      vm.$options = mergeOptions(
        resolveConstructorOptions(vm.constructor),
        options || {},
        vm
      )
    }

    if (process.env.NODE_ENV !== 'production') {
      initProxy(vm)
    } else {
      vm._renderProxy = vm
    }

    // expose real self
    vm._self = vm

    initLifecycle(vm)
    initEvents(vm)
    initRender(vm)
    callHook(vm, 'beforeCreate')
    initInjections(vm)
    initState(vm)
    initProvide(vm)
    callHook(vm, 'created')

    if (vm.$options.el) {
      vm.$mount(vm.$options.el)
    }
  }
}
//...省略部分代码在init中,可以看到为Vue原型挂载了_init方法,因此当new Vue的时候,执行的就是这个_init方法。 在_init函数内部首先对传入的options进行了合并,mergeOptions
由于工作原因,后续会不断补充...(感谢理解)